
This Tutorial is about How to pair the right eye makeup with Red Lipstick. Now I know a lot of people get lost on what colors to use on the eye's when wearing red lipstick because it can either be over kill or just too muted for the eye's. This will be a neutral brown eye with highlighted areas that will make your eye's look beautiful and sexy without being too bold or clashing with your red pucker :)
You know the old rule "Let one feature take center stage at one time"? Well no one ever said that other feature couldn't look sexy as h*ll playing back up! LOL
Here is a list of the products I used to achieve this look

1. Sephora Color Palette in 52 shades. It contains 32 eyeshadows, 16 lip colors, 3 blushes and a bronzer (24.00) ♥
2. Loreal HIP Cream eyeliner in Black (10.00)
3. Maybelline Matte eye shadow in Earthly Taupe (2.74)
4. Cover Girl Lash Blast Mascara in Very Black (6.00) ♥
5. Sonia Kashuk's Full Glam lashes (4.95) My Favs ♥
6. Urban Decay eye Primer- Not featured in pic

Basic Eye Shadow Brushes
-Eyeliner Brush
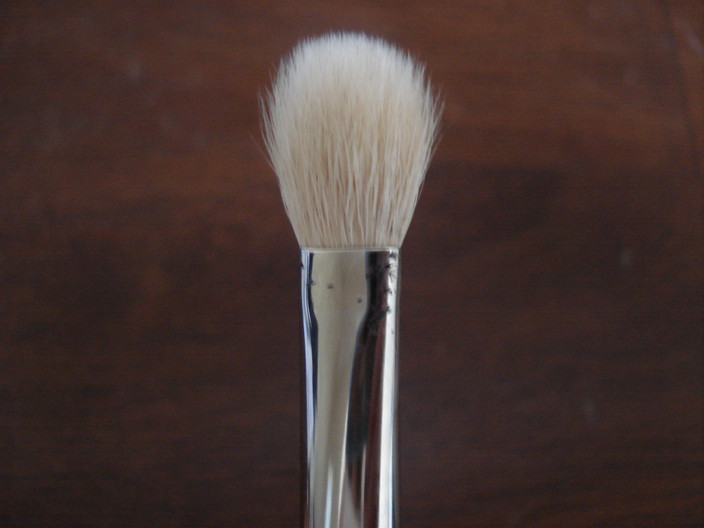
-Fluffy Brush
-Crease Brush
Mac's 217
Blending Brush
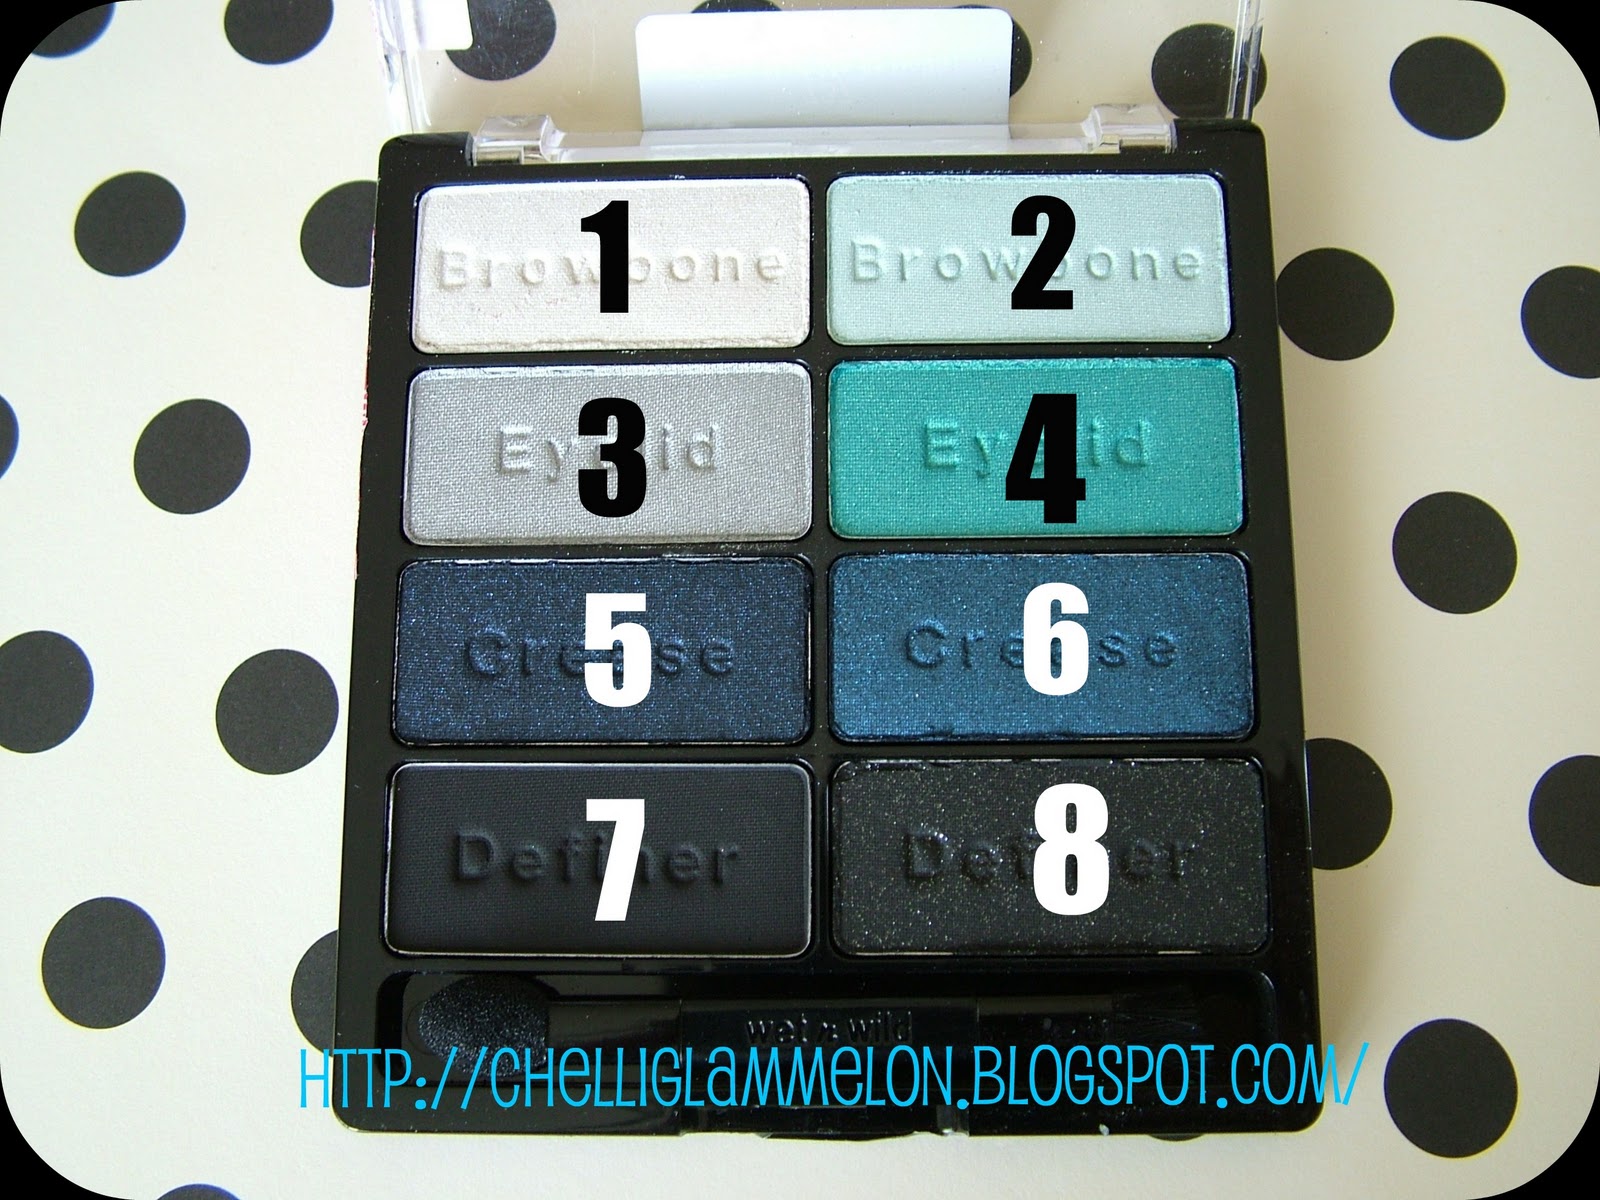
Sephora 52 Color Palette
(Follow along using the colors below)

Step By Step
1. Apply eye primer to entire eye lid and brow bone
2. Take your fluffy brush and your Earthly Taupe eye shadow (or any matte skin colored shadow that blends in with your skin tone) an go over entire lid with it- From your lash line
to your brow bone.
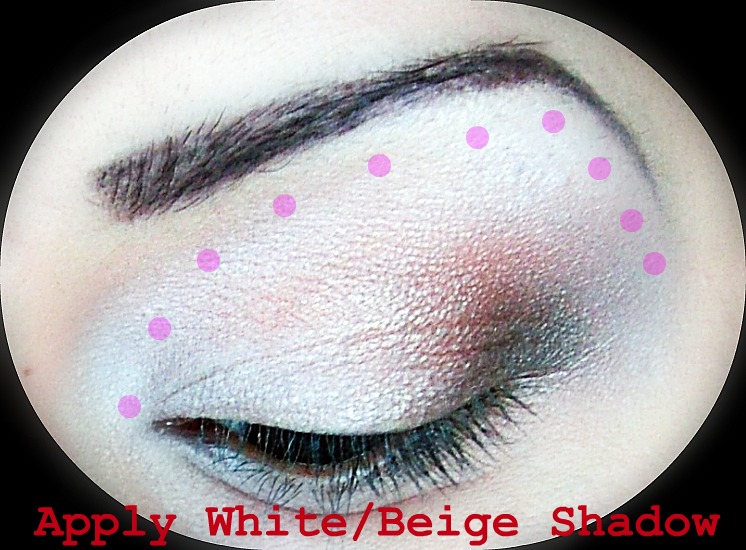
2. Take #1 from The Sephora Palette (Shimmery White/Beige) and add it to your inner eye lid area and stopping in the center- Go around outer tear duct area with shadow also > This will brighten up the eye and add a sexy sparkle ♥
2. Take #1 from The Sephora Palette (Shimmery White/Beige) and add it to your inner eye lid area and stopping in the center- Go around outer tear duct area with shadow also > This will brighten up the eye and add a sexy sparkle ♥

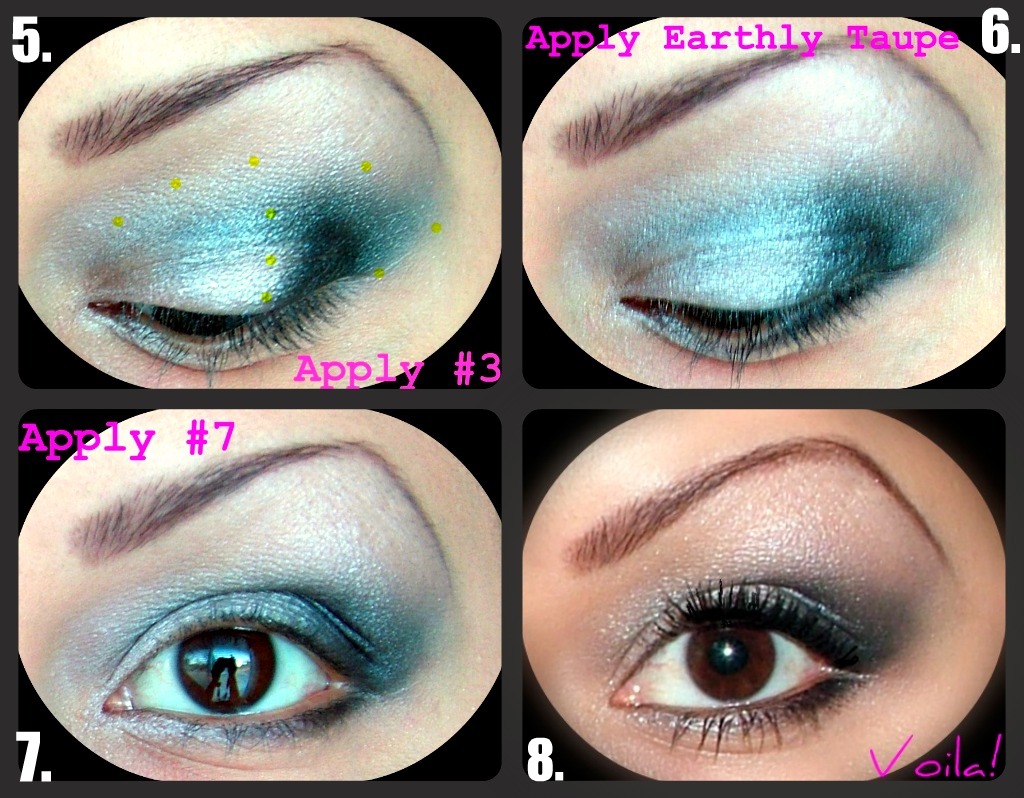
2. With your MAC 217 brush an #2 eye shadow (Light/Medium Brown Shimmer) to the outer corner of your lid, to your crease area and stopping at the inner pupil area (shown below) blending the white shadow with the brown shadow just in the center of eye lid.
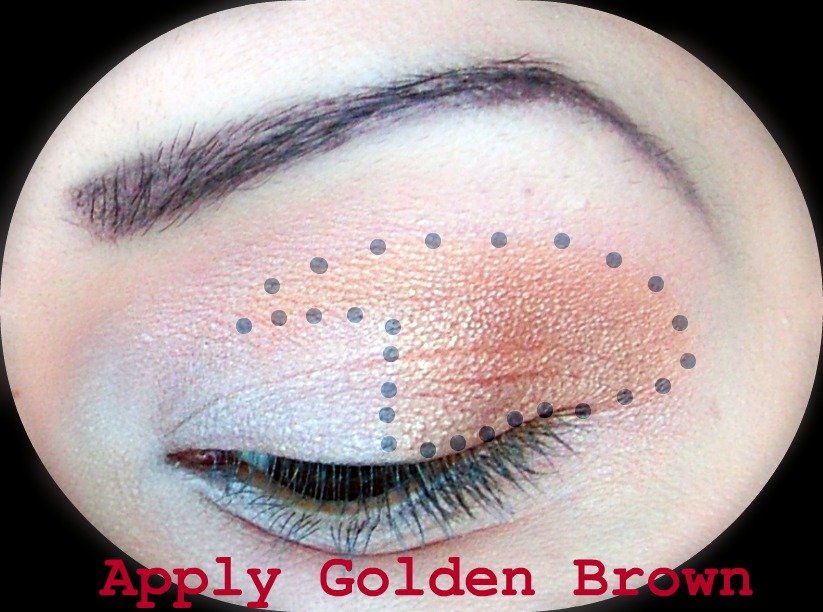
3. Using your MAC 217 brush take #3 (Dark Matte Brown) and add it Just to the outer part of your V area.

4. Now take #1 again (Shimmery white/Beige) and using your crease brush, apply lightly to the brow bone, starting at the arch in your brow bone and with a wind shield wiper motion or even in tiny circular motions blend that line together. -Now you should not have to blend these colors too much because they are fairly light and you want to keep the colors separated, your just getting rid of any harsh lines. Your also going to want to take this color down to the inner tear duct area on up to the brow bone, This will really help open up those eye's
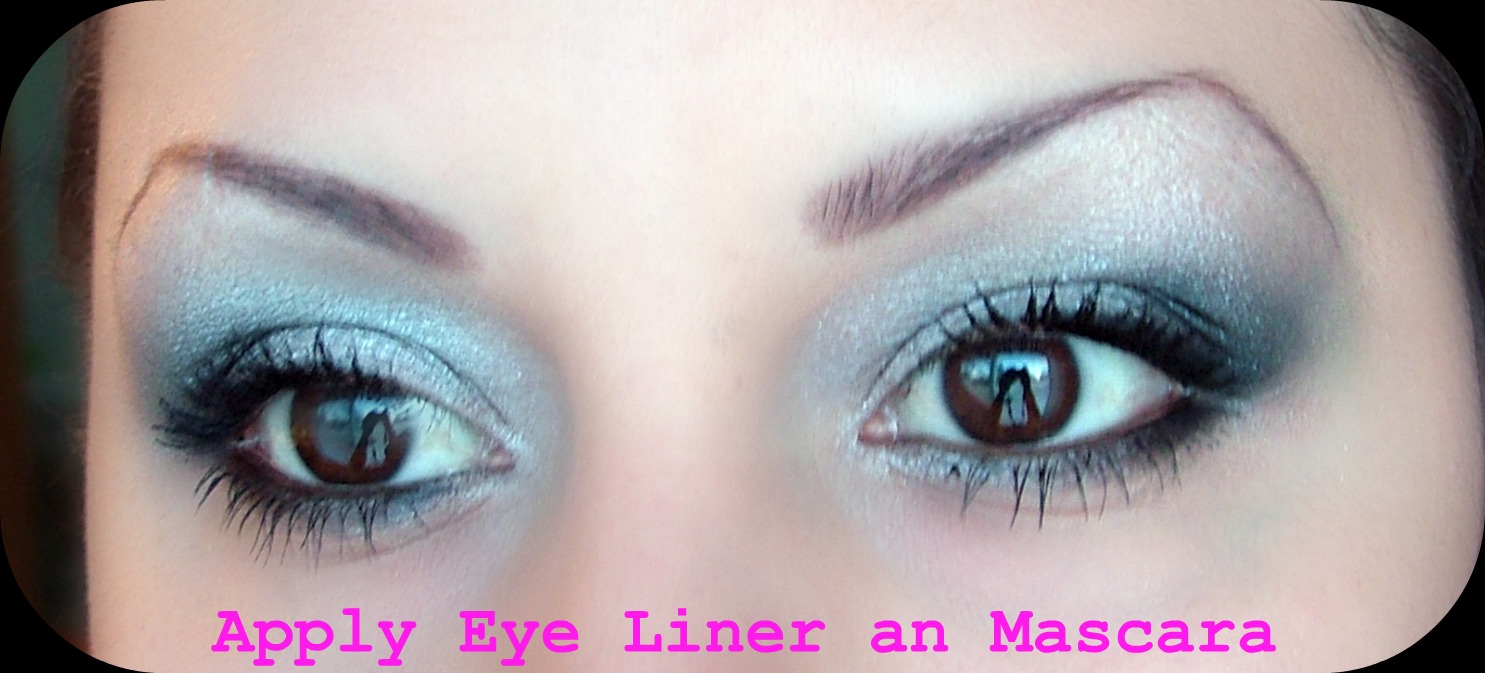
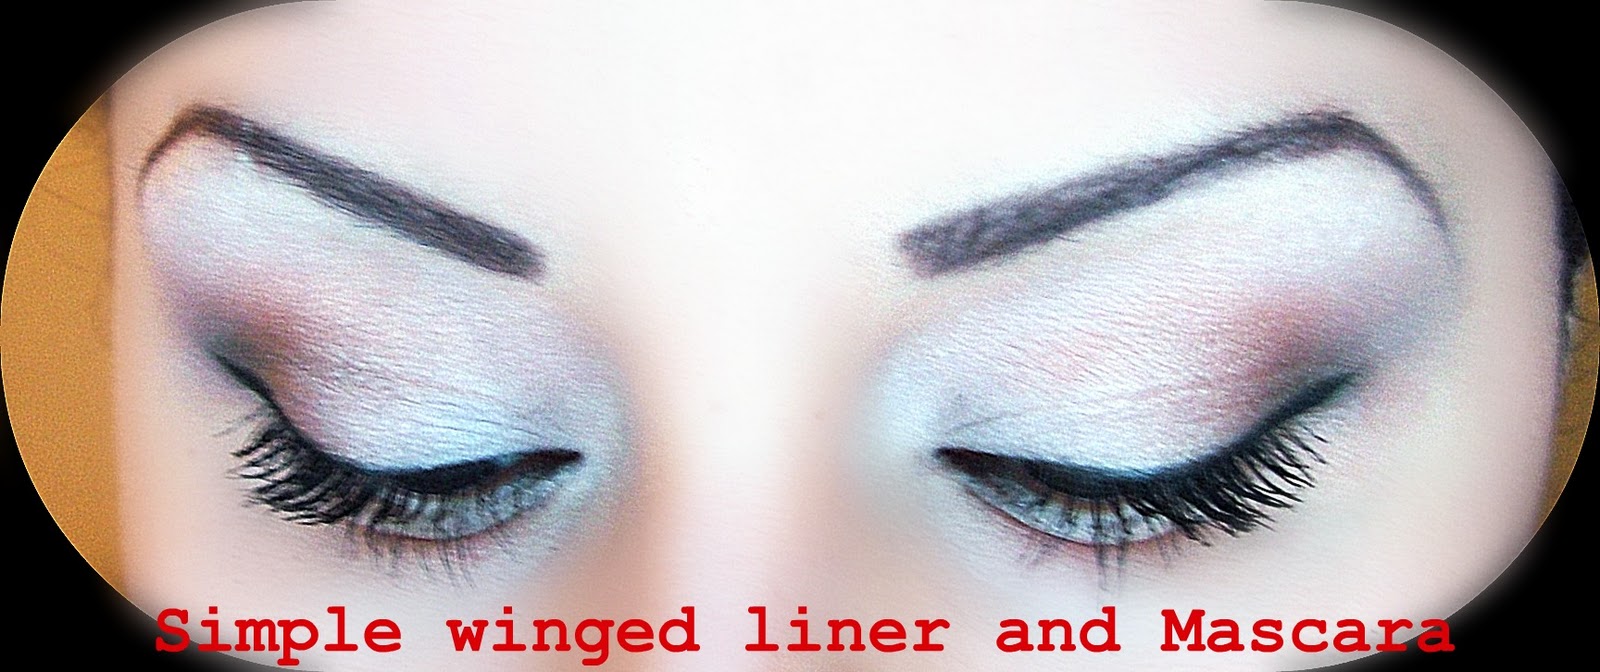
5. Now it's time for eye liner, I used Loreal's Cream Liner in Black and did just a basic close to the lash line application with a slight upward wing at the end (Nothing drastic) Just a soft upward line to lift the eye's up at the ends- Then take your eyeliner brush and eye shadow #4 (Matte Black) and lightly go over that eyeliner again- this will soften the look of the eye liner making it much softer and sexier, Then Curl your lashes and use Cover Girl's Lash Blast Mascara in Very Black-
If you are using falsies (Which I prefer) You will add those after your mascara :)
If you are using falsies (Which I prefer) You will add those after your mascara :)
Extras
Lipstick: Rimmel Lasting Finish Lipstick in Jet Set Red (5.00)
Blush: Mac Powder Blush in Blunt Matte (18.00)


If you are more tanned or Dark Skinned and prefer a darker shade of Red try Revlon's- In The Red Matte Lipstick (swatch shown below) next to Rimmel's Lasting Color Lipstick in Jet Set Red

I hope you all enjoyed this Tutorial,
All Comments and Requests are Appreciated- Thank you Glammie Gals and have a Beautiful an Sexy Day!♥ ♥ ♥